Now we have a snapshot in the Staging Area that is ready to be permanently saved in the Repository. To do this we run
git commit -m "Commit Message"
Here the -m flag means that we are providing a message. The message itself is what we type in quotes. This will only let us write a short one-line message. If we need longer messages we omit the flag, and Git will open our text editor, where we can enter a more detailed message.
git commit
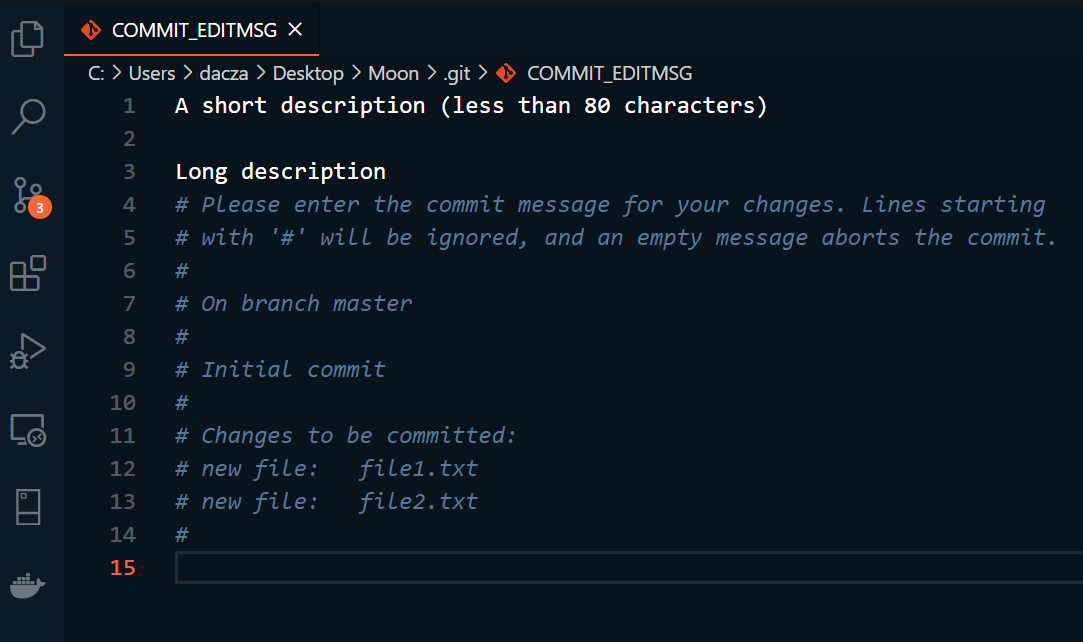
Now on VS Code, we can write our commit message. On the first line, we should write the title of our commit or a short description of it. This description should not exceed 80 characters.
Then we write a long description that explains what was changed, deleted, or added in this commit. When done, we save the changes and close VS Code. Keep in mind that when we close VS Code the commit command is executed, so make sure to double-check your message and make sure you included everything that needs to be included.
Back in Git Bash, we'll see a message with basic statistics of what was changed. Here it says that two files were changed: file1.txt and file2.txt. It also says that there were three insertions (one for each time we added hello to each file and one for when we added world to file1.txt).
