Before we can stage a file, we need to create one. To do so, we run
echo hello > file1.txt
This will create a new file called file1.txt and write the word hello into this file. echo is not a Git command, it's just a good ol' system command. Now let's create a second file, using the same command
echo hello > file2.txt
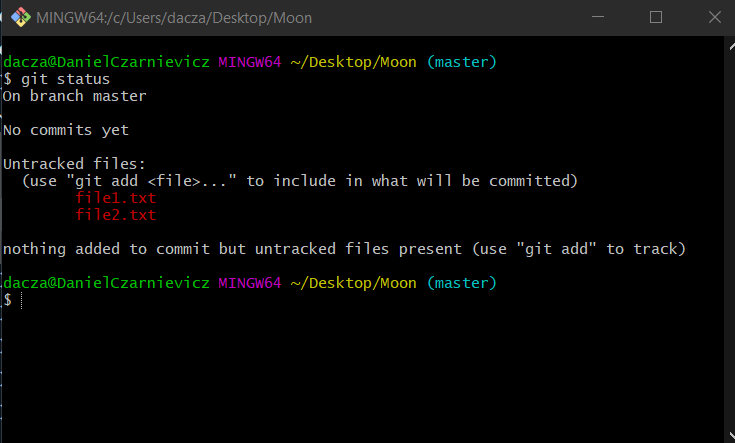
Git will not start tracking your files on its own. To check the status of the project's files run
git status
Here we can see that our two files are un-tracked. We also see that they are not in the Staging Area because they are red. In order to add them to the Staging Area, we use the git add command and the name of the file(s). Here we can pass one file or more, separated by a space. We can also use patterns (all files matching this pattern will be added), or a period (all files in the directory will be added).
git add *.txt
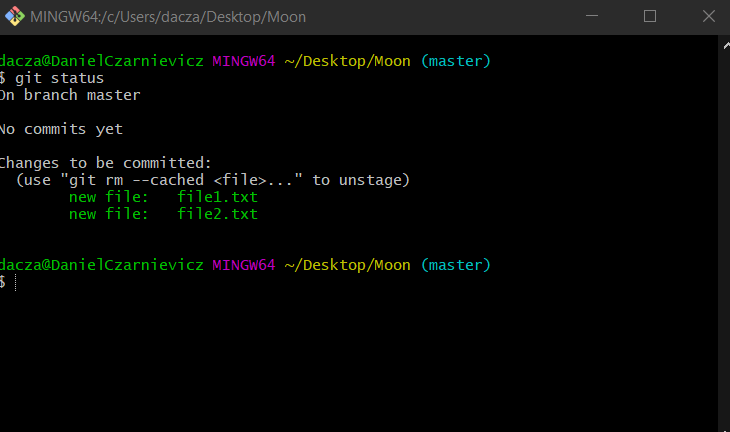
Now if we run git status again, you'll see that the files changed to green because they are in the Staging Area.
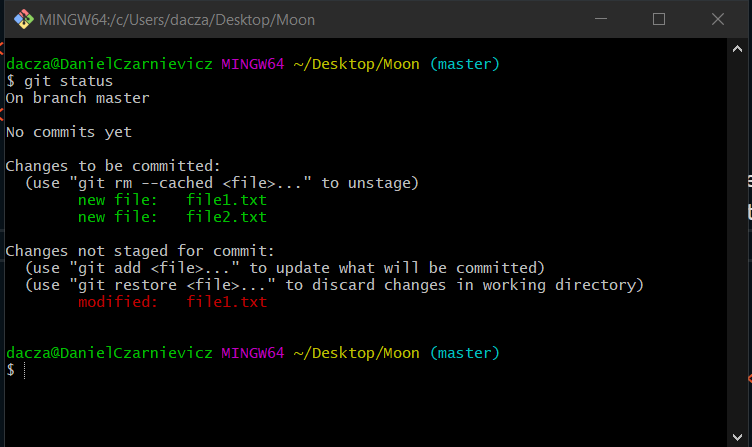
Now let's modify file1.txt by appending the word world to it. To do this, we run the same command as for creating it but with a double greater-than symbol:
echo world >> file1.txt
And let's run git status again. See that now file1.txt is both in the Staging Area and in the Working Directory. This is because when we staged the files, Git took a snapshot of file1.txt and placed it in the Staging Area. So the version of file1.txt that exists in the Staging Area differs from the one that exists in the Working Directory. We can sync them up by running git add file1.txt again.