Releases are a GitHub (not Git) feature that is built on top of tags (every release requires a tag). To create one, go to your repositories home page and, on the right-hand panel, click on Releases. You'll be directed to the releases page. Now click on Create a new release.
First, we need to give it a Tag version. If we already have tags we can use one of those. If we don't have a tag, when we create the release, GitHub will add it to the latest commit on the branch that we select.
Next, select the branch. Generally, programs are released based on the master branch, but you can select any other branch in your repository.
Then, write a Release Title. It can be anything you want. Here I use the tag name.
After that, we can include our release notes. You have to use Markdown syntax for it.
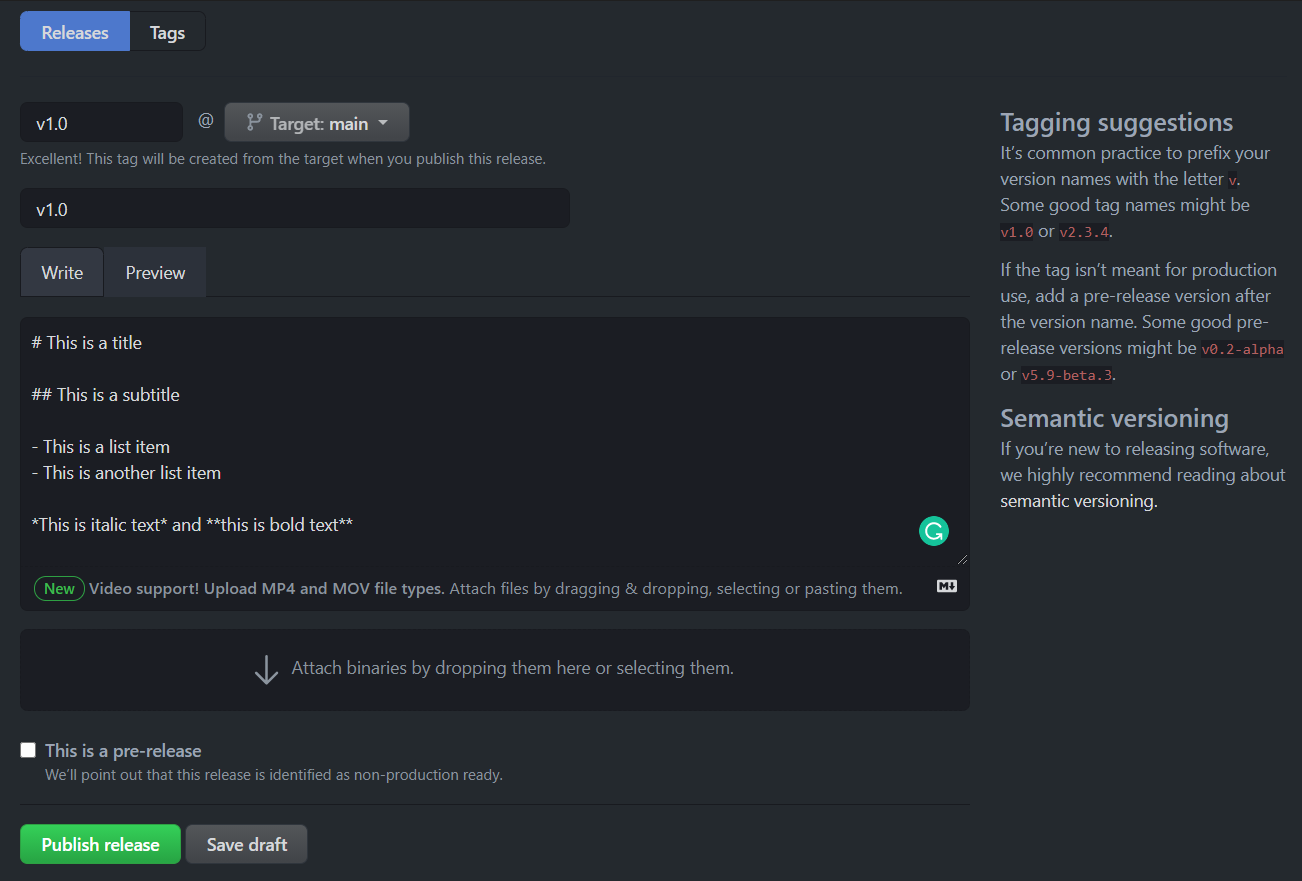
Below that, you'll see the list of files GitHub will include in the release. By default, it will include all the source code up to that point in time, but you can add other files like binaries.
If your release is a pre-release (maybe your software is not stable yet) you can mark it as a pre-release. When done, just click on the Publish release button.
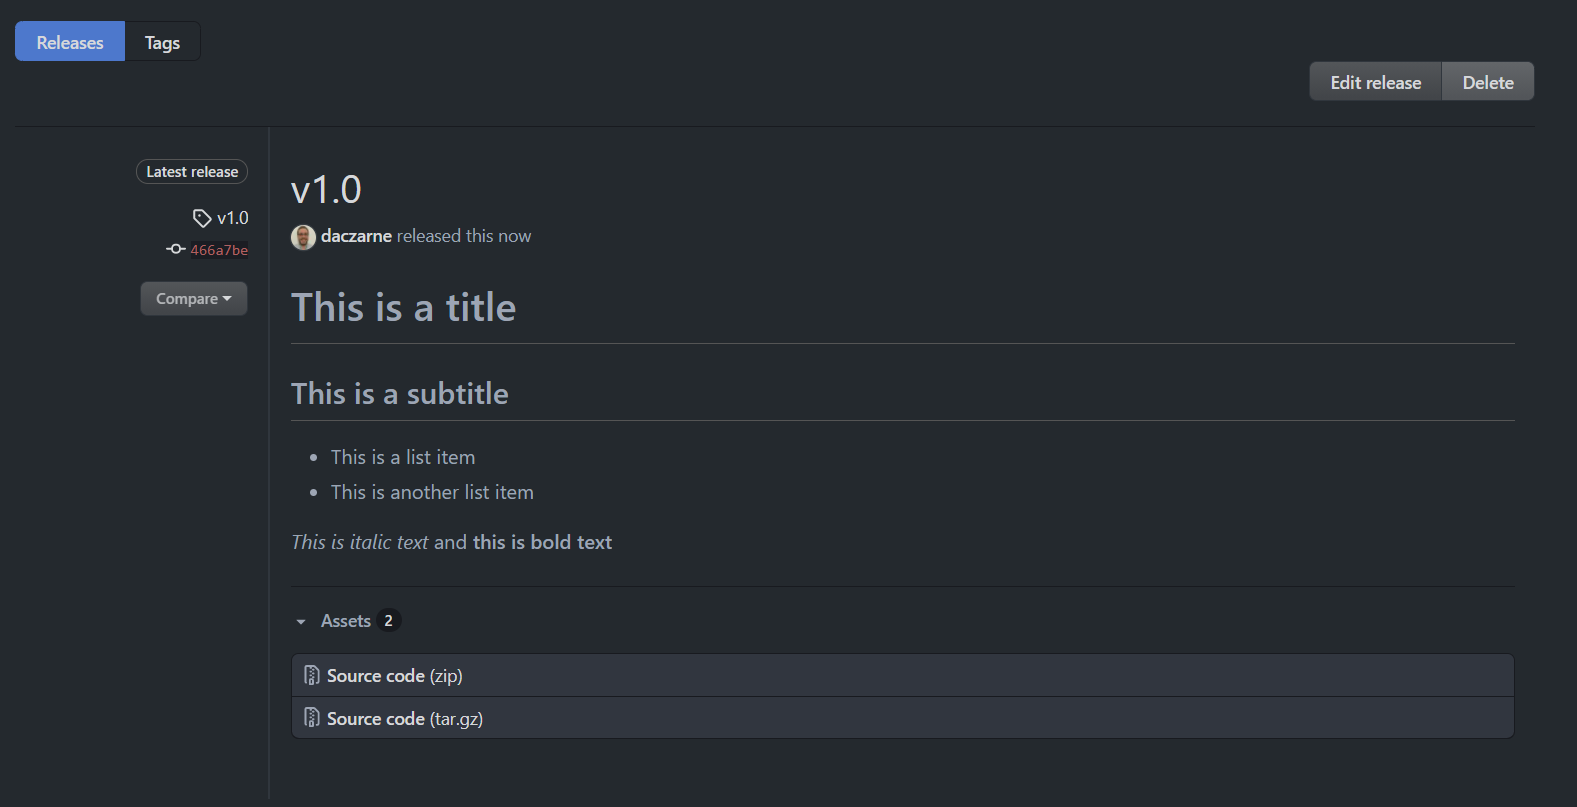
You'll be redirected to the releases panel. Here you can see all your releases and their notes. On the left-hand side, you can see the commit based on which the release was done. If you click on Compare you can compare the state of your code at different releases.
Next to your user name and the date on the central panel, GitHub will show you the number of commits that were pushed to that branch since that release. Currently is not showing anything because there aren't any new commits.
Finally, on the right-hand side, you can choose to Edit or Delete the release.