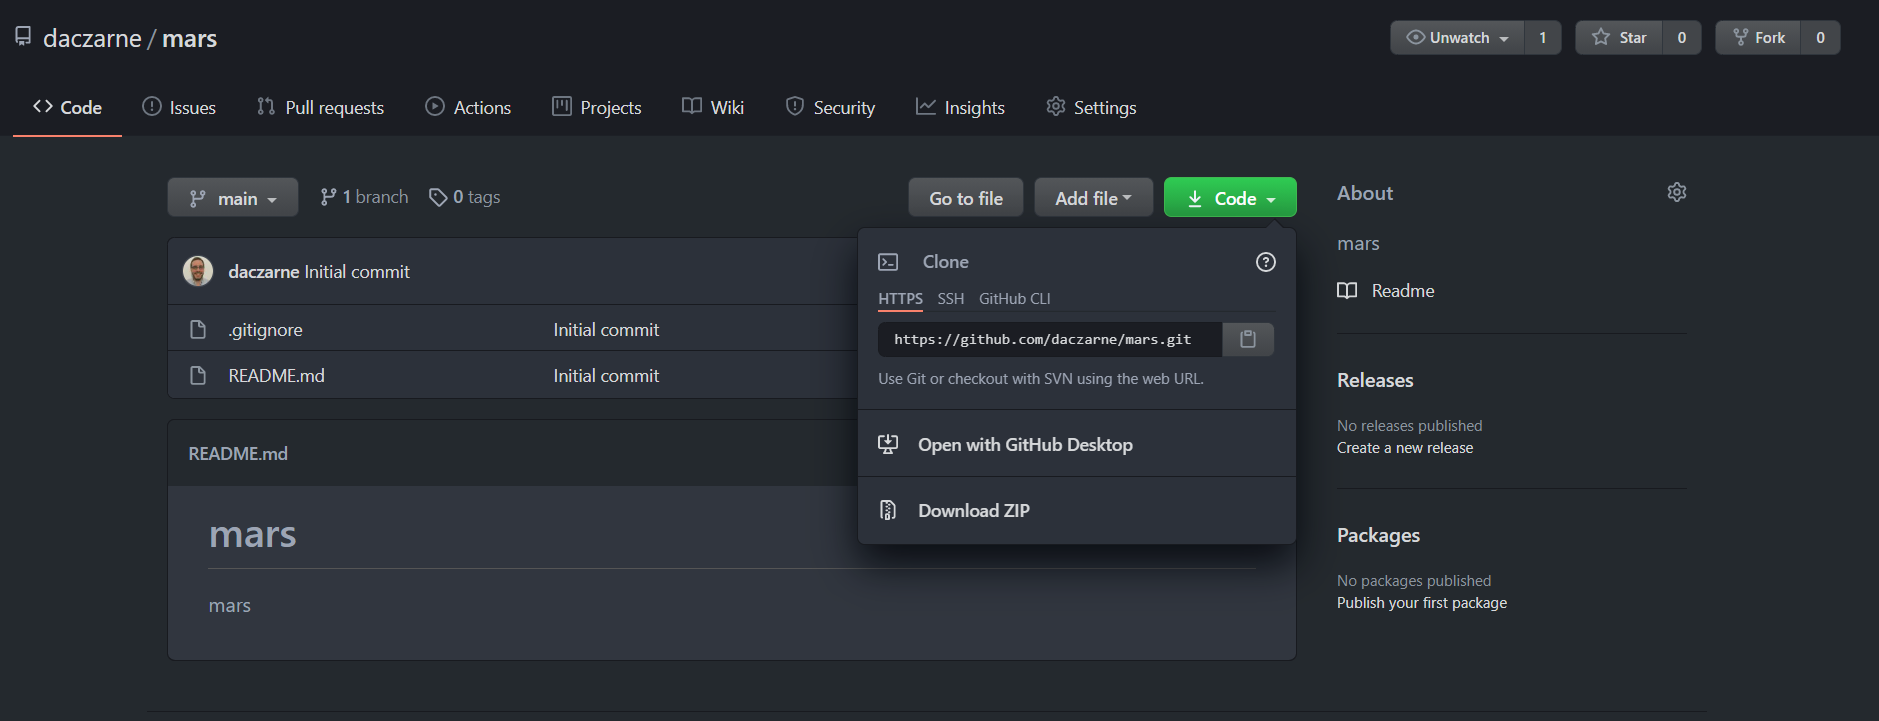
To start working on our repository, we first need to clone it to
our local machine. To do so, click on the
 button and copy the URL.
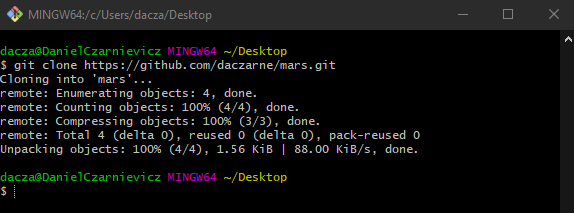
Now, open the Git Bash and run
git clone url directory_name
where url is the URL you copied from GitHub and the directory_name is optional (by default Git will create a directory with the same name as your repository).
Now, cd into the directory and check the log. Here you'll see the two pointers you are already familiar with, HEAD and main (remember, main and master are the same thing). But there are also two new pointers origin/main and origin/HEAD.
The origin part refers to the GitHub repository. It's just how Git names it. So, origin/master is telling us where the master branch was in that repository the last time we checked (in this case the last time we checked was when we cloned the repository). The same happens with HEAD, but it tells us where the HEAD was the last time we checked.
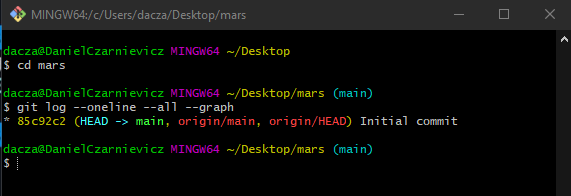
Technically these are called Remote tracking branches. But they don't work like regular branches. You can't git switch into them, or commit to them.
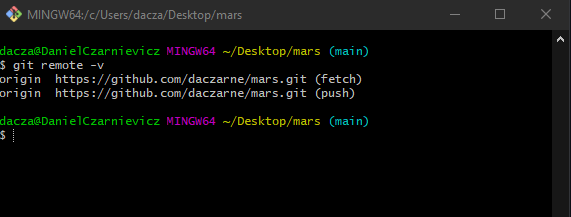
You can check the list of remotes by running
git remote -v
A remote is any repository that is not on the current working directory. Currently, we only have one remote (the origin on GitHub). The -v option tells Git to show us the URLs. These are the URLs that will be used when talking to that remote.